No time to blog lately...My head has really been into the two talks I'll be giving in less than a month and I have been preparing for the trip I'm taking later today. I'll be spending 3 weeks in Oklahoma, being Grammy. Our new grandson is due any day, so I'll be helping our daughter with him, plus keeping our 2-year-old granddaughter occupied and (hopefully) happy. It will be interesting to see her reaction to the new family member!
I have several quilting projects packed and I have sent out a few e-mails to quilters in the Norman, OK area. I hope to have time to do some quilt-related things while I am there. And I hope to have the time to blog about them. We will see...
Monday, February 28, 2011


Friday, February 18, 2011
Sneezing!
In preparing for 2 trunk shows that I'm giving the end of March**, I've been pulling out all my old quilts and quilt tops. I have them spread all over the living room so that I can study them and allow them to "talk" to me. It is so much fun to look at them and study them. Fun to imagine the ladies who worked on them, too.
But, I'm finding that I'm sneezing a lot and my nose won't stop dripping! Guess there's lots of dust (and who knows what other allergens?) in these wonderful pieces. Doesn't stop me from smiling as I work with them, though. I just keep the box of tissues handy!
**Come see and hear me at "Stitches In Time"--the community quilt show in Marshall, MI on March 26 and 27. For complete info, visit www.marshallmi.org.
But, I'm finding that I'm sneezing a lot and my nose won't stop dripping! Guess there's lots of dust (and who knows what other allergens?) in these wonderful pieces. Doesn't stop me from smiling as I work with them, though. I just keep the box of tissues handy!
**Come see and hear me at "Stitches In Time"--the community quilt show in Marshall, MI on March 26 and 27. For complete info, visit www.marshallmi.org.
Saturday, February 5, 2011
Workshop Fun
Yesterday was spent teaching one of my patterns at a workshop for the Oakland County Quilt Guild. It was a delightful day!
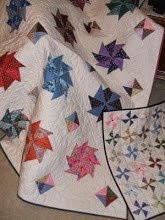
Our project was "Now Starring: Leftovers". The morning was spent scrappy-piecing and in the afternoon the ladies learned a quick way to make flying geese units. Then they were ready to put some star blocks together.
I don't know who had more fun all day, the students or me. :) I enjoyed seeing them start to loosen up and really have fun with the scrappy piecing technique. And I loved hearing their comments as they dug deep into their scrap collections. Some pieces of fabric were seeing the light of day for the first time in years, and ladies were telling stories about when, where and why they bought certain pieces. Oh, the joy of scrap quilting!
Our project was "Now Starring: Leftovers". The morning was spent scrappy-piecing and in the afternoon the ladies learned a quick way to make flying geese units. Then they were ready to put some star blocks together.
I don't know who had more fun all day, the students or me. :) I enjoyed seeing them start to loosen up and really have fun with the scrappy piecing technique. And I loved hearing their comments as they dug deep into their scrap collections. Some pieces of fabric were seeing the light of day for the first time in years, and ladies were telling stories about when, where and why they bought certain pieces. Oh, the joy of scrap quilting!
Tuesday, January 25, 2011
Bindings Done
All of the quilts that needed bindings have them! Now I'm working on labels. After sorting through my quilts in preparation for some upcoming trunk shows, I was surprised to discover how many of my quilts are not labeled.
I'm just making labels from muslin and writing on them with Pigma pens--nothing fancy.
I cut freezer paper to the desired size of my label, draw guidelines on the dull side with a Sharpie marker, and iron the freezer paper to leftover pieces of muslin.
For variety, I have several colors of Pigma pens for the lettering. I include the name of the quilt, my name and city and state, and the name of the quilter.** After the lettering is done, I heat set the ink so that my message doesn't get washed away. (I learned that the hard way several years ago!)
The edges of the label are pressed under and the label is appliqued to the lower back corner of the quilt.
**I'm embarrassed to say that for some of the quilts, I do not remember when I made them, so I cannot always add a date to the label. A quilting friend has decided not to date her quilts so that she can gift them whenever she wants to without the recipient knowing whether the quilt is old or new. In the future, the fabrics might help date the quilt, but if the date is somewhere on it, there will be no mistaking when it was made. A good reason to include the date whenever possible! Maybe a date range is better than nothing???
I'm just making labels from muslin and writing on them with Pigma pens--nothing fancy.
I cut freezer paper to the desired size of my label, draw guidelines on the dull side with a Sharpie marker, and iron the freezer paper to leftover pieces of muslin.
For variety, I have several colors of Pigma pens for the lettering. I include the name of the quilt, my name and city and state, and the name of the quilter.** After the lettering is done, I heat set the ink so that my message doesn't get washed away. (I learned that the hard way several years ago!)
The edges of the label are pressed under and the label is appliqued to the lower back corner of the quilt.
**I'm embarrassed to say that for some of the quilts, I do not remember when I made them, so I cannot always add a date to the label. A quilting friend has decided not to date her quilts so that she can gift them whenever she wants to without the recipient knowing whether the quilt is old or new. In the future, the fabrics might help date the quilt, but if the date is somewhere on it, there will be no mistaking when it was made. A good reason to include the date whenever possible! Maybe a date range is better than nothing???
Wednesday, January 12, 2011
"Lined" Binding
Not much sewing/quilting is getting done right now. I'm in the midst of teaching income tax to the local AARP Taxaide volunteers. That is my annual brain exercise. :)
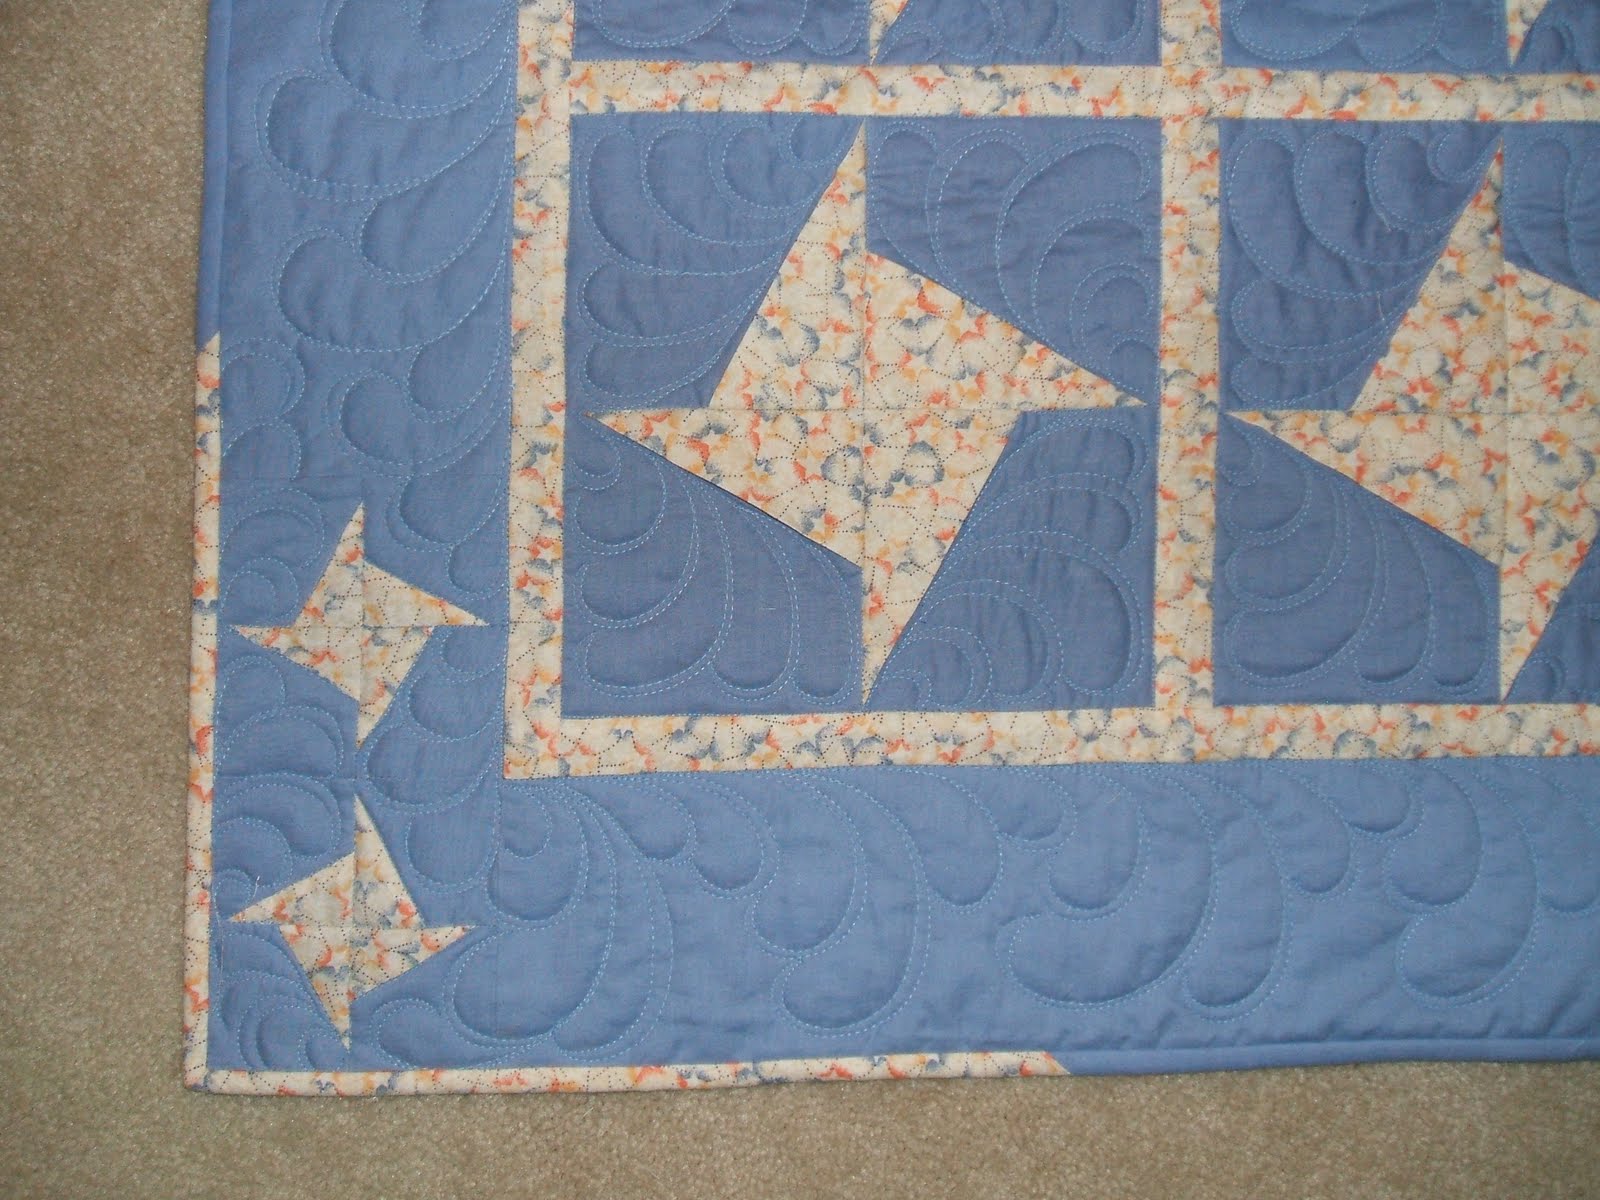
Pictured is the quilt that needed binding, with very little fabric left to do so. As you can see, it is a 2-fabric quilt, so I didn't have many fabric choices for the binding. After measuring the fabric I had left from the quilt, I determined that I had enough to make a "lined" binding. This is a technique that I happened upon a number of years
 ago, and have used successfully.
For a 2-1/4" double binding: From your main fabric, cut strips 1-1/2" wide. From the lining fabric, cut strips 1-1/4" wide. Piece all strips as necessary to achieve desired length. Then seam the two strips together along the long edges. Press the seam allowance in the direction of the lining strip. Fold the binding in half and apply to the quilt in the usual manner.
For 2-1/2" binding, cut the main fabric strips 1-5/8" wide. Cut lining fabric strips 1-3/8" wide.
For 2-1/8" binding, cut the main fabric strips a SCANT 1-1/2" and the lining fabric strips a SCANT 1-1/4".
Try it...it works! Have fun with your bindings. (I've got the next one ready to hand-stitch, so I'm really making progress!)
Monday, January 3, 2011
New Year's Quilting Resolutions
A new year, and new resolutions! Of course I hope to finish some UFOs, but first I want to tackle those quilts that have been waiting for bindings and labels. A whole stack of them sits in my sewing room. I guess, as usually happens, I got interested in a new project before completely finishing an old one.
Some of these bindings are challenging--perhaps that is why they were put aside. I've already finished the scalloped one. Once I remembered the technique, it wasn't that bad. The next one is a bit more tricky. I have very little fabric left with which to make the binding. I'll let you know what I decide to do after I measure what I have.
Good luck with your new year's quilting resolutions!
Some of these bindings are challenging--perhaps that is why they were put aside. I've already finished the scalloped one. Once I remembered the technique, it wasn't that bad. The next one is a bit more tricky. I have very little fabric left with which to make the binding. I'll let you know what I decide to do after I measure what I have.
Good luck with your new year's quilting resolutions!
Thursday, December 16, 2010
One More Gift Idea

My daughter told me that her 20-month-old could use a pillow. A regular size pillow seems too big for my granddaughter, so I bought a travel size pillow. Of course she would need some pillowcases for her new pillow! I went looking for some fun fabrics. I found some great cat fabric in my stash and bought the green floral fabric at the quilt shop.
One-half yard of fabric is plenty for a pillowcase for this size pillow. Cut the fabric 13 1/2" x width of fabric, and remove the selvages. Fold the fabric in half, right sides together. (folded piece will measure 13 1/2" x ~ 22") Using a 1/4" seam allowance, stitch both side edges. Serge or zig-zag the raw edges of the seams. Press under 1/4" along the top edge of the pillowcase; then turn under another 3" to form the top hem. Press. Stitch the hem close to the turned-under edge. Turn pillowcase right side out and press.
A quick and easy gift for a toddler or a traveler!
Subscribe to:
Posts (Atom)