Last week was a crazy busy week so I did not have a chance to post. I spent 3 days at the NQA show in Columbus. Once again I was wowed by the beauty and creativity displayed in the quilts there. There were many quilts with detailed applique; many with amazing machine quilting; and as usual, the ribbon winners were stunning. I admire the determination it takes to see such a project through to the end!
The Blazing Star quilt that my grandma made for my parents took determination, too! That is one design that must be pieced carefully so that it lies flat, especially in the center.
This quilt was long-forgotten until I found it at the bottom of Mom's cedar chest when I was preparing her house for sale. Like the 2 quilts I showed in previous blogs, it is thin and worn--signs that it was used often and well-loved.
Grandma made these quilts in the late 40's and into the 50's. I'm intrigued by the fact that the colors in these quilts are 30's colors--pastels. Makes me wonder just how far back Grandma's scrap bag went!!! I will most likely never know.
Wednesday, May 28, 2014
Friday, May 16, 2014
A Very Traditional Quilt
Grandma's smaller apron and dress fabric scraps went into this Dresden Plate quilt. I'm guessing that she acquired scraps from her quilting friends, too, because of the variety of fabrics in this quilt. This one was used on my older sister's double bed (she had her own room!!!).
The "plates" were pieced by hand and hand appliqued to the background squares. The blocks were set together by machine, however. Grandma had a sewing machine--one that started out as a treadle, but was converted to an electric machine somewhere along the line. That machine saw lots of activity because Grandma loved to sew.
This quilt was hand quilted by the church quilting ladies. Even though it was often washed (because it was used and loved), the quilting stitches are still intact. Those church ladies did quality work. :)
Friday, May 9, 2014
The beginning of my love of scrap quilts
I've decided to share with you the vintage scrap quilts in my collection. Perhaps they will inspire you as you work with your own collection of scraps.
My grandmother was a quilter. She made quilts for the family from scraps leftover from making house dresses and aprons. My sister and I slept under Sunbonnet Sue quilts that Grandma made for us. My quilt was sashed/bordered in green (pictured). Grandma used pink to sash/border my sister's.
Black embroidery stitches accent the appliqued Sunbonnets. And the hand quilting was done by the ladies in Grandma's church quilting group. My sister and I have fun reminiscing about the aprons Grandma made for us when we see certain fabrics in these quilts. And I like to think that I came by my love of scrap quilts by osmosis...sleeping under this quilt as I grew up!
It is ragged in some places because it was used. But that also shows how much it has been loved. :)
Thursday, May 1, 2014
Taming a Scrap Quilt
Scrap quilt blocks tend to be "busy" with all the different fabrics being put together. Unless you like the busy-ness, it is necessary to calm things down. How do you do this? By strategic use of a solid fabric. The solid fabric gives the eye someplace to rest as one studies the overall design of the quilt top.
Makers of old scrap quilts used muslin as their background fabric. Some chose a solid coordinating color fabric for the sashing between their scrappy blocks.
Unbleached muslin, white and black are all good solid fabric choices. Audition each against your scraps to see which one shows off the colors in your blocks the best. If there is a predominant color in your scrap blocks, perhaps that would be a good solid color choice. Other colors to try in sashing, borders or cornerstones are teal and brown.
Lay out your blocks against your chosen colors, either on the floor or on your design wall. Stand back and study the layout. The color choice(s) will become obvious. (If you find that you need to shop for your solid fabric, be sure to take all of your scrap blocks to the store with you. Find a spot where you can lay the blocks against several colors, stand back and decide. Again, the color choice should become obvious.) How satisfying to find just the right color to show off your scraps!
Wednesday, April 23, 2014
Use Your Scraps, Part 7
In previous blog posts I have given you suggestions for strips, squares and triangles. If you have sorted your scraps, you have probably found fabric chunks that do not fit into any of those categories, and you might be wondering what to do with those.
An easy solution is to create your own fabric from them by sewing them together. You can combine the colors randomly or sort so that you are only using neutrals, only greens, only reds, etc. The most important "rule" when creating your scrappy fabric is to make sure you are joining STRAIGHT edges. This will insure that your finished fabric will lie nice and flat. So, once the fabric chunks have been pressed, trim a straight edge on each scrap and pair up the scraps according to the length of the straight edge. Stitch with a 1/4" seam and press the seam allowance to one side. Trim a straight edge on this pair of scraps and add another scrap to it. Continue to add pieces in this way until your new fabric is large enough to cut your desired shape from it.
Leftover pieced units from previous quilt projects can be worked into this fabric in the same way as other fabric scraps. I like to sort my scraps into "large" and "small" before beginning to create my fabric. I piece the small scraps together when I know that I will be making small blocks. I piece the larger scraps together when I know that I will be making large blocks.
For more detailed instructions on making scrappy pieced fabric, check the "How-To" tab on my website: http://carolsscrapquilts.webs.com.
Have fun creating your own unique fabric!
Thursday, April 10, 2014
Use Your Scraps, Part 6
Many quilt projects result in half-square triangles being left behind. Once you have a collection of them, turn them into squares.
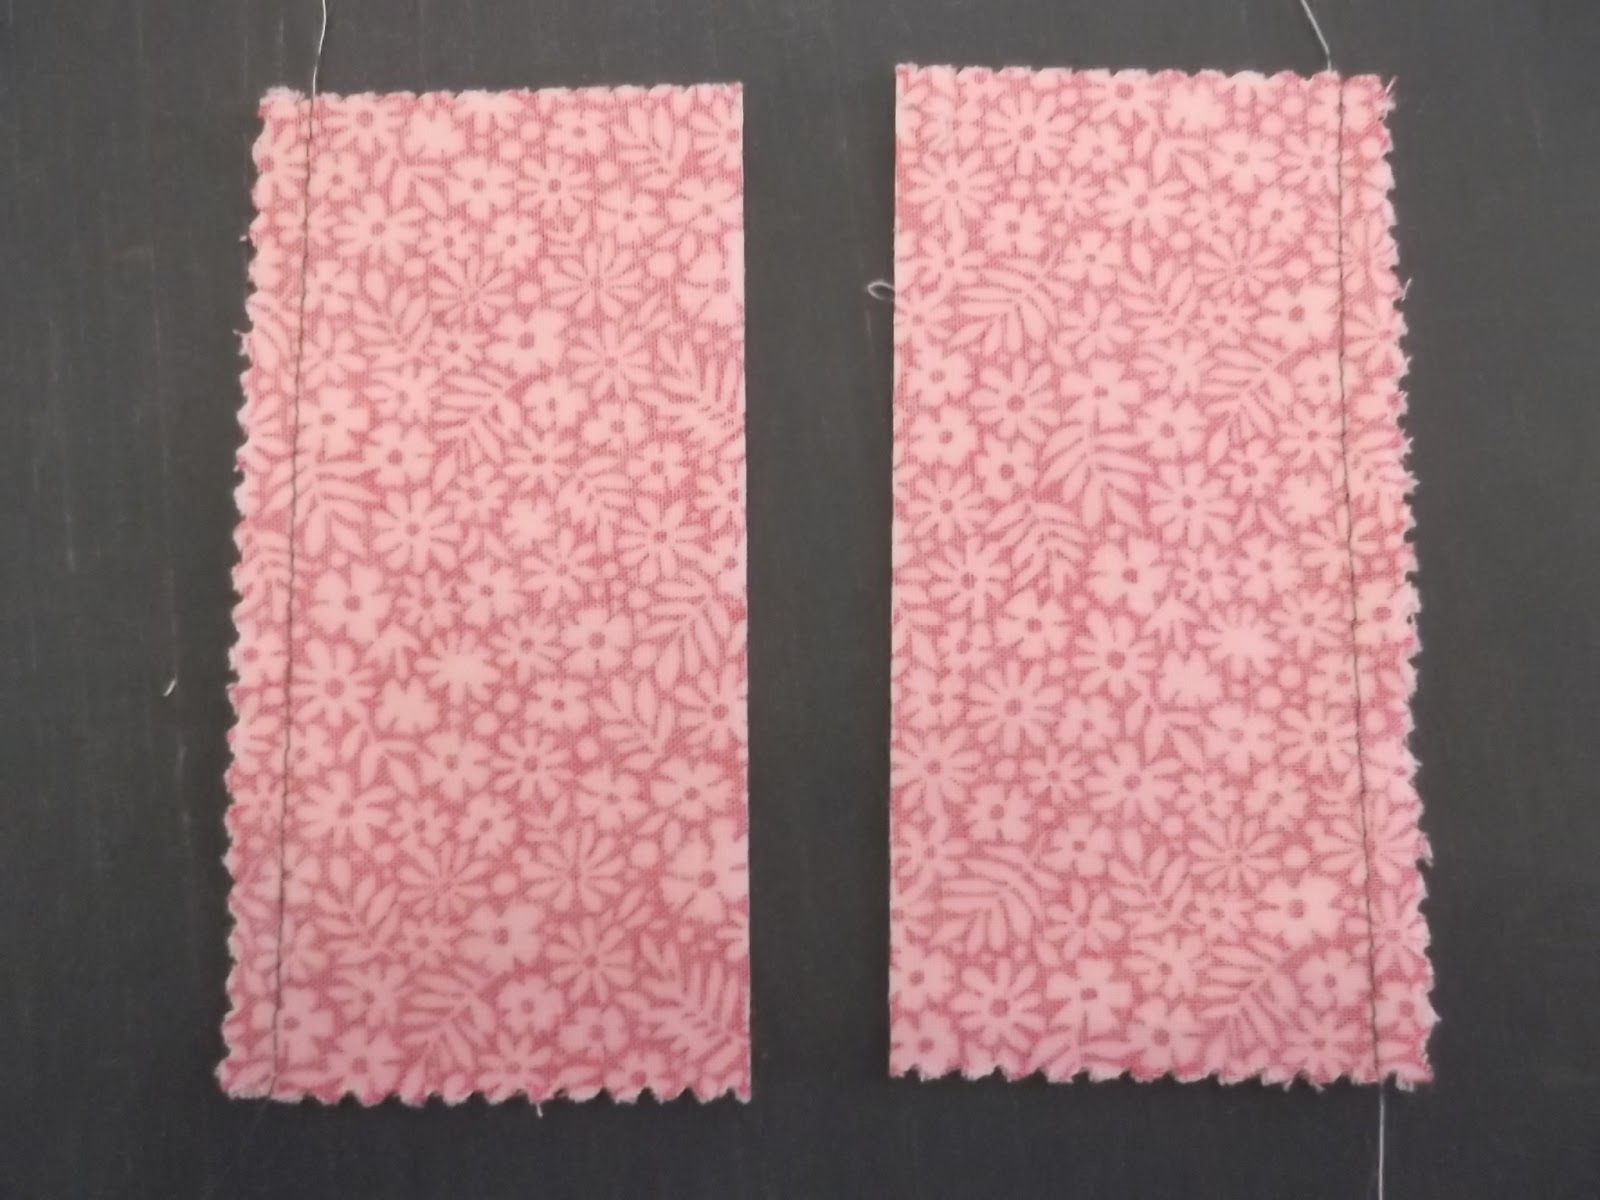
Cut a strip of background fabric that is wider than your largest triangle is tall. Place the half square triangles along the edge of the strip--raw edges of long side of the triangle matching to the raw edge of the strip. Stitch them in place.
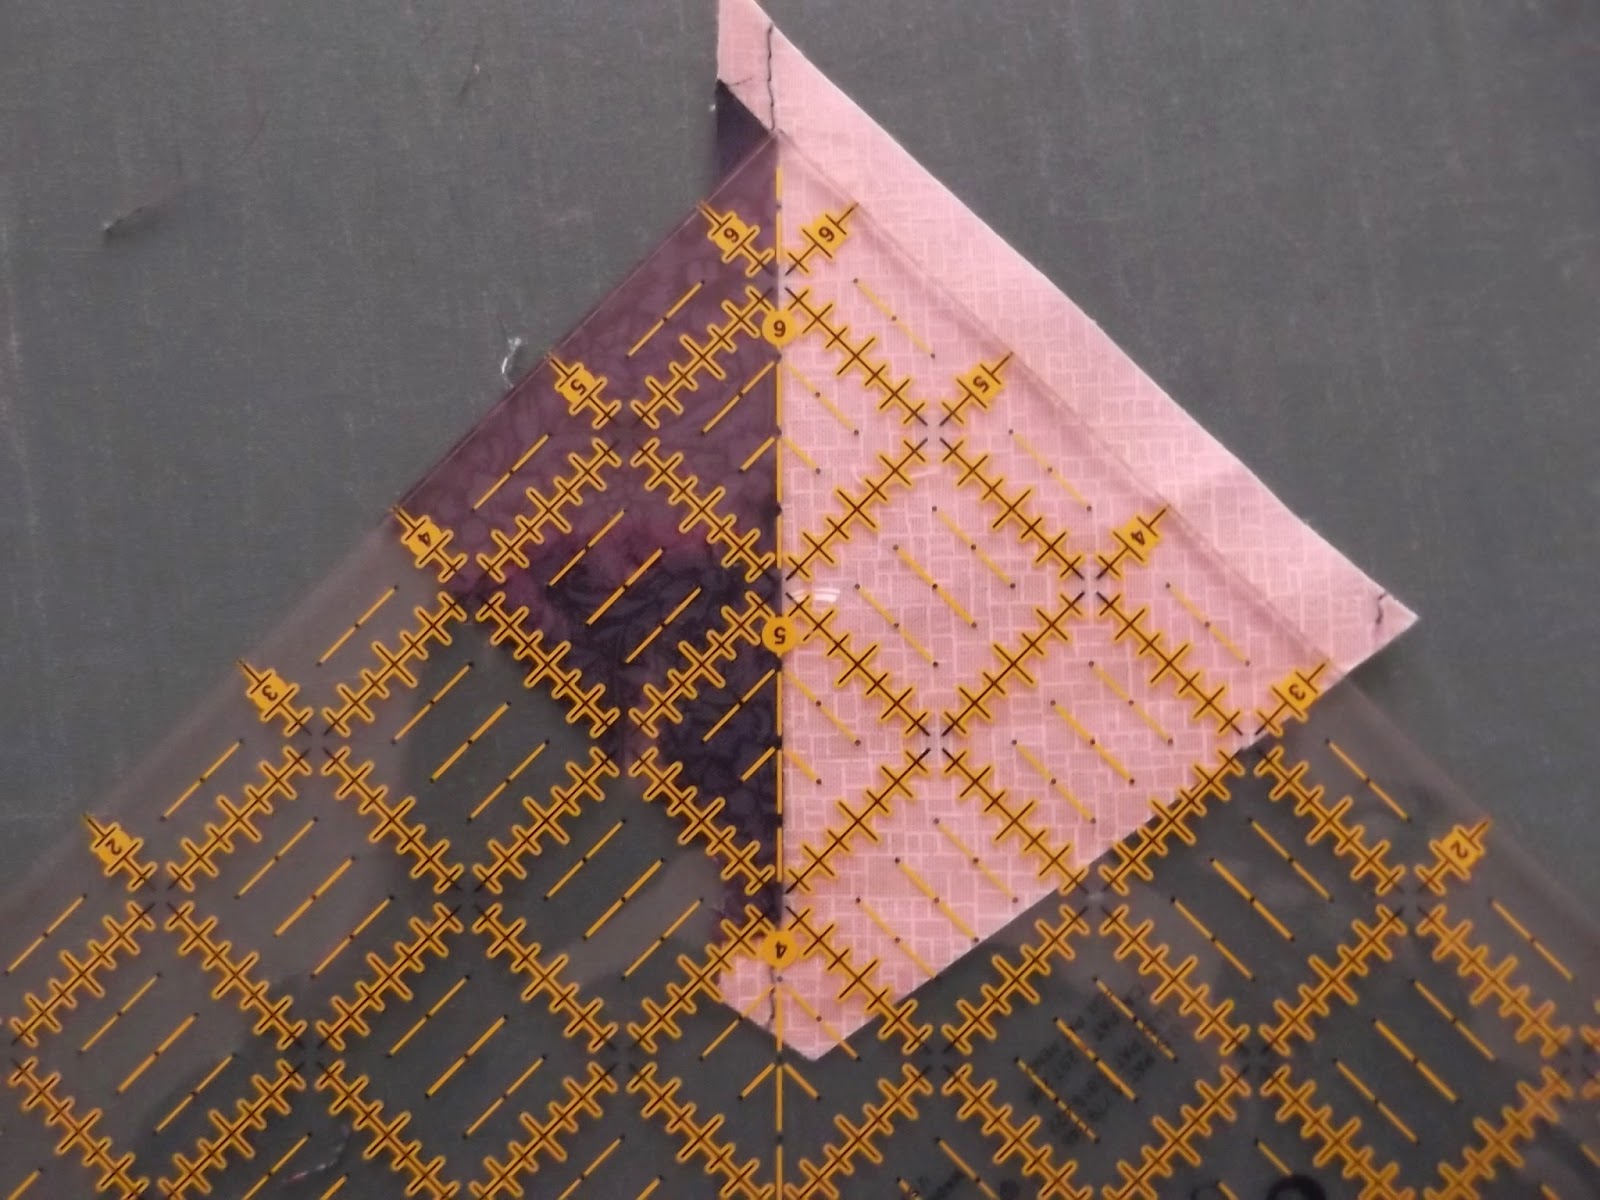
Cut the triangles apart, leaving extra fabric around each one. Press the seam toward the dark fabric. Using a small square ruler, align the seam with the 45 degree line on the ruler to square up each triangle square.
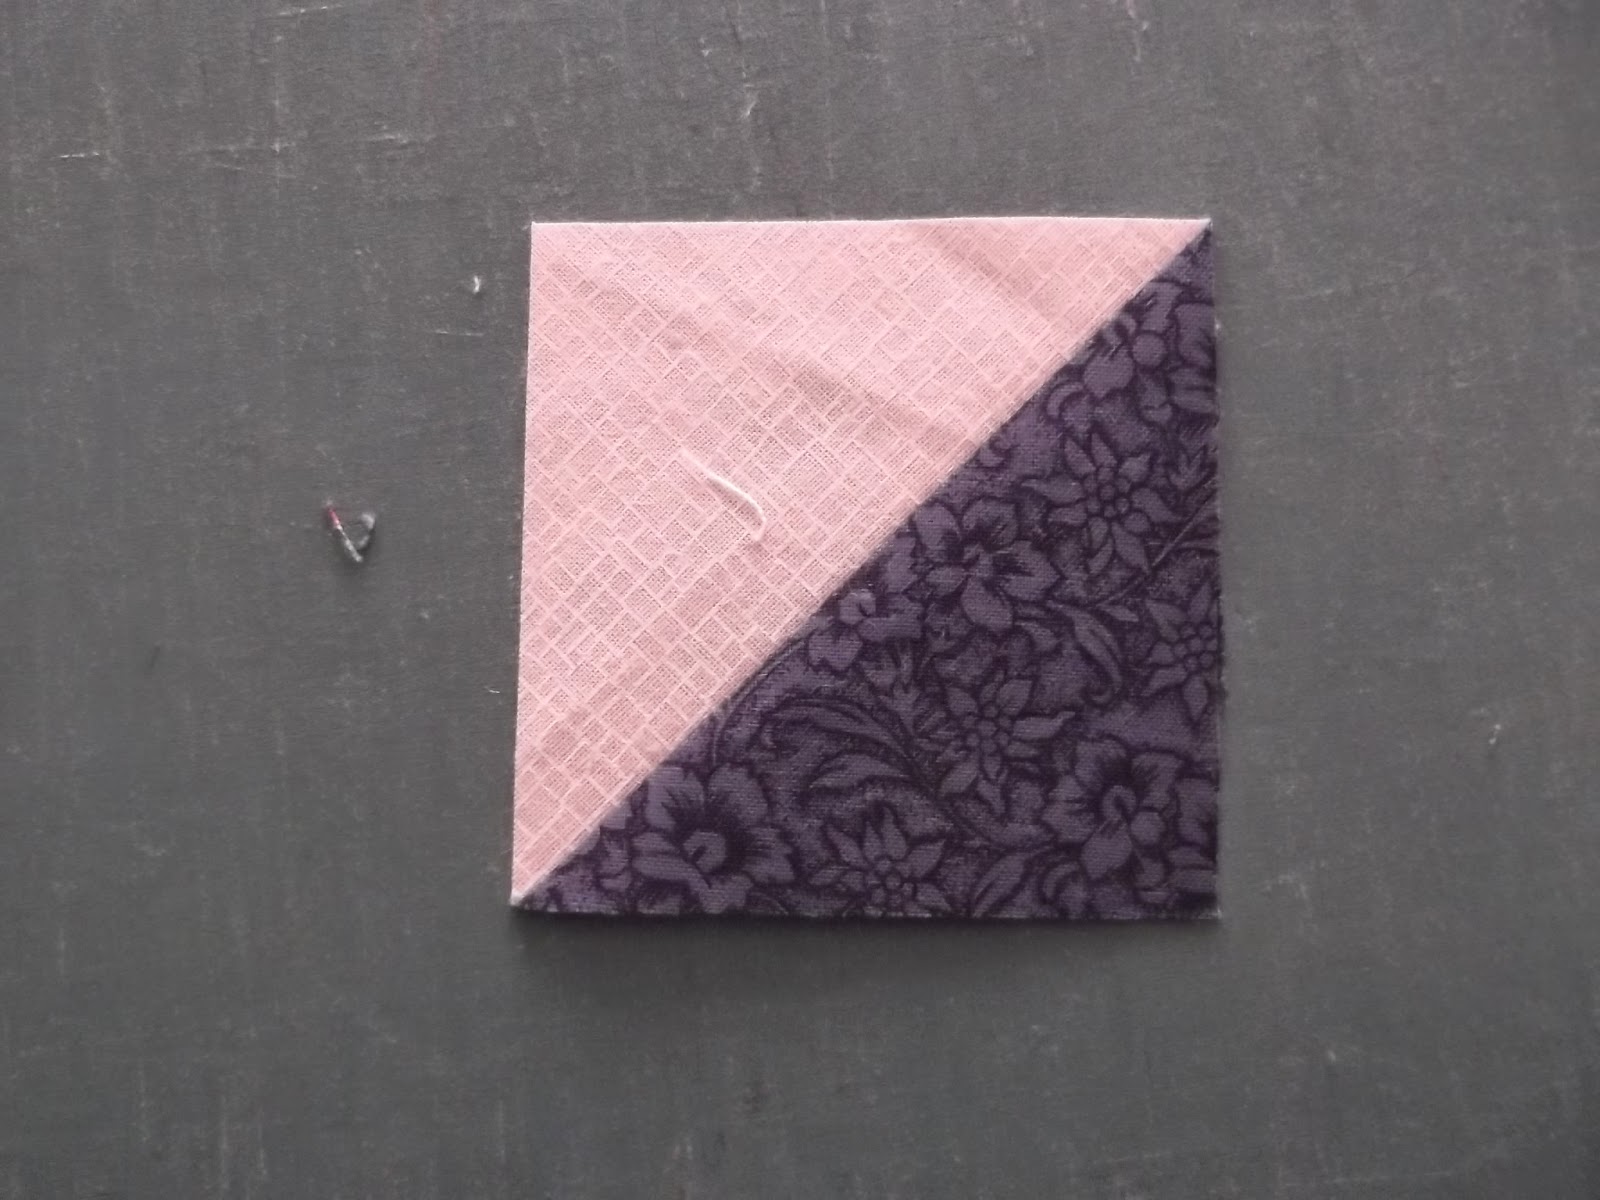
(To end up with edges that are not on the bias, cut squares of background fabric slightly larger than the short side of your half square triangle. On the wrong side of the fabric, draw the diagonal of the square. Match the long side of the half-square triangle to the drawn line. Stitch the triangle in place, using the drawn line as a guide for your 1/4" seam. Add another triangle to the other half of the square. Cut apart on the drawn line. Press seam allowance toward the dark and square up as above.)
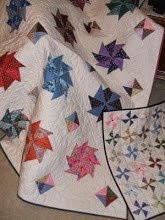
Great scrappy quilts can be made from these new 1/2 square triangles--pinwheels are fun. Be creative and play with the design possibilities.
Wednesday, April 2, 2014
Use Your Scraps, Part 5
Here's another idea for using your charm squares--a fun way to make 4-patch squares. Right sides together, pair up a print charm square with a solid square of the same size. Using a 1/4" seam allowance, stitch the squares together on opposite sides. Then cut the sewn squares apart through the center (the cut will be parallel to the stitched edges).
Press the seam allowances toward the print fabric. Right sides together, place one pressed square on top of the other, with the print rectangle on top of the plain rectangle below and the plain rectangle on top of the print rectangle below. The center seams should butt nicely to each other. Pin in place. Using a 1/4" seam allowance, stitch along the opposite outer edges--this stitching will be perpendicular to the center seams.
Again, cut the squares apart through the center--parallel to the seams you just sewed. Open out and press. You now have two 4-patch squares! Square up as necessary.
I think this technique is perfect for those charm squares with pinked edges-- which I find so hard to work with! Because of the way these 4-patch blocks are constructed, those pinked edges disappear!
Try this...you will like it! :)
Subscribe to:
Comments (Atom)


