Thursday, April 10, 2014

Use Your Scraps, Part 6


Many quilt projects result in half-square triangles being left behind.  Once you have a collection of them, turn them into squares.


Cut a strip of background fabric that is wider than your largest triangle is tall.  Place the half square triangles along the edge of the strip--raw edges of long side of the triangle matching to the raw edge of the strip.  Stitch them in place.


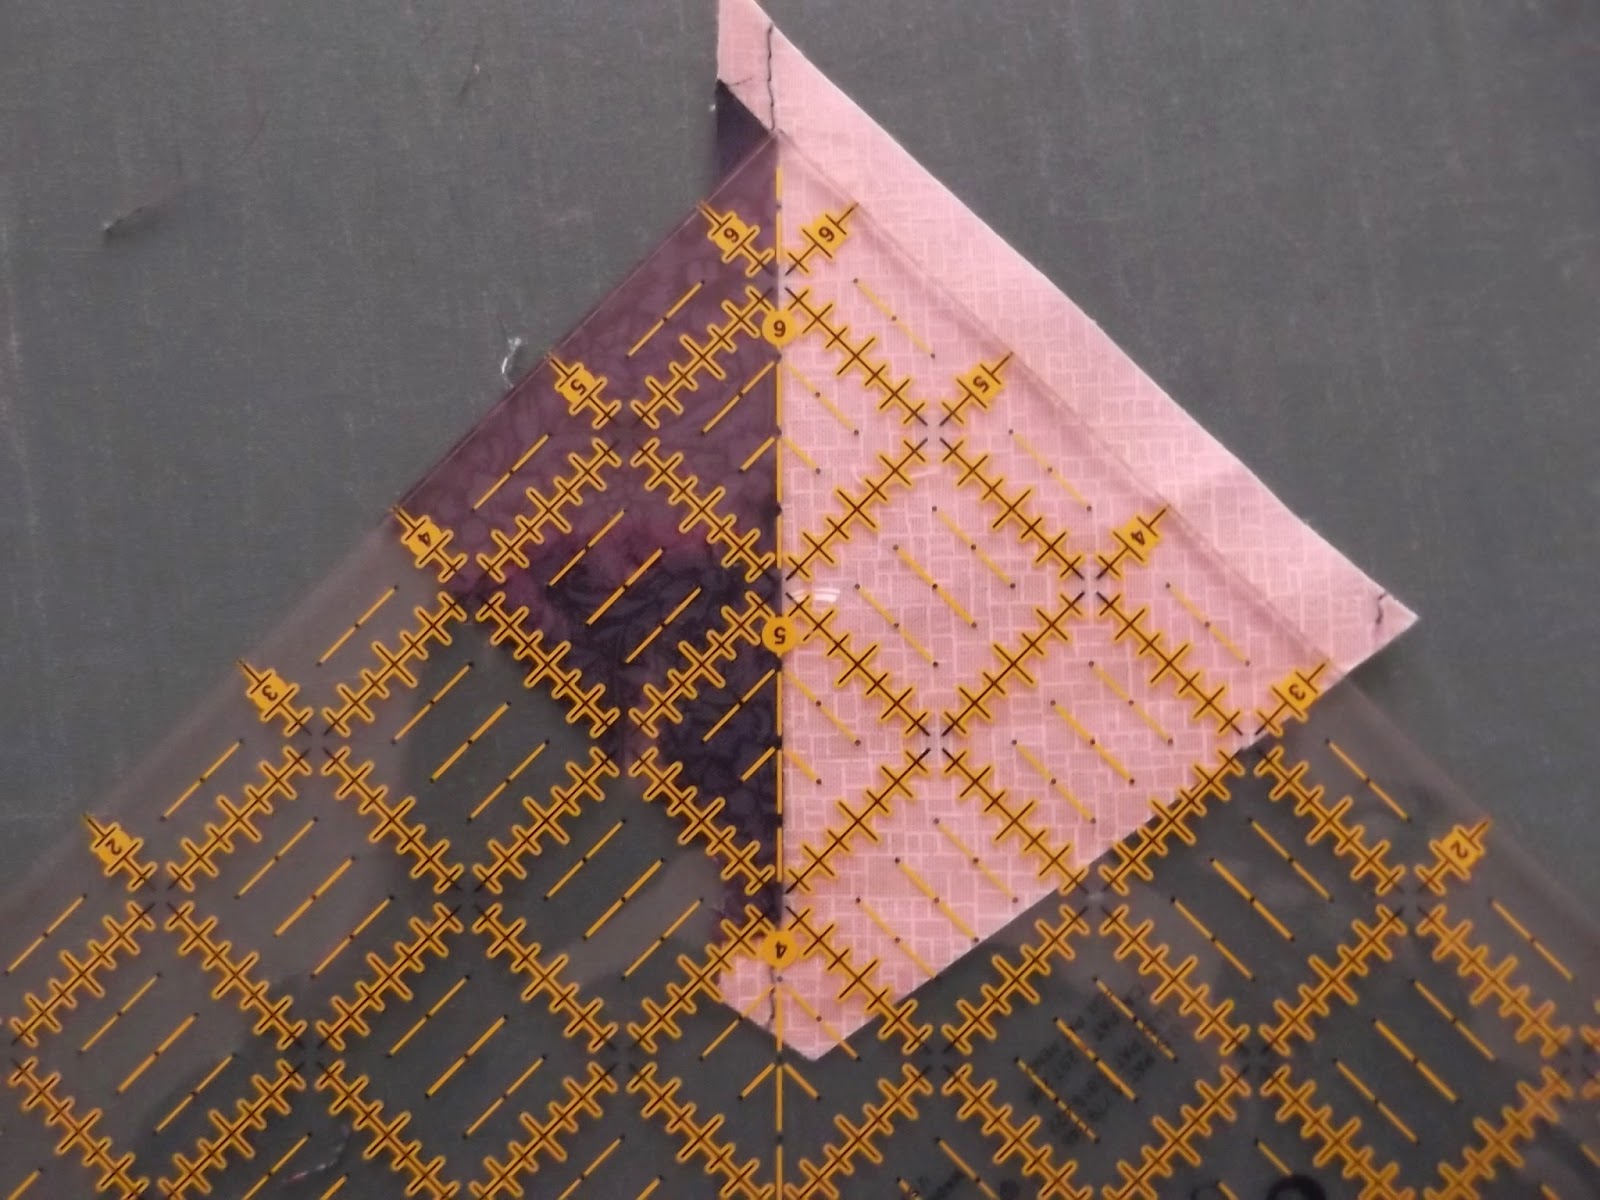
Cut the triangles apart, leaving extra fabric around each one.  Press the seam toward the dark fabric.  Using a small square ruler, align the seam with the 45 degree line on the ruler to square up each triangle square. 


Once they are all squared up, the squares can be trimmed down to the size needed for your project.  Be careful of the edges of the background fabric.  They are now on the bias, so handle the finished squares carefully.
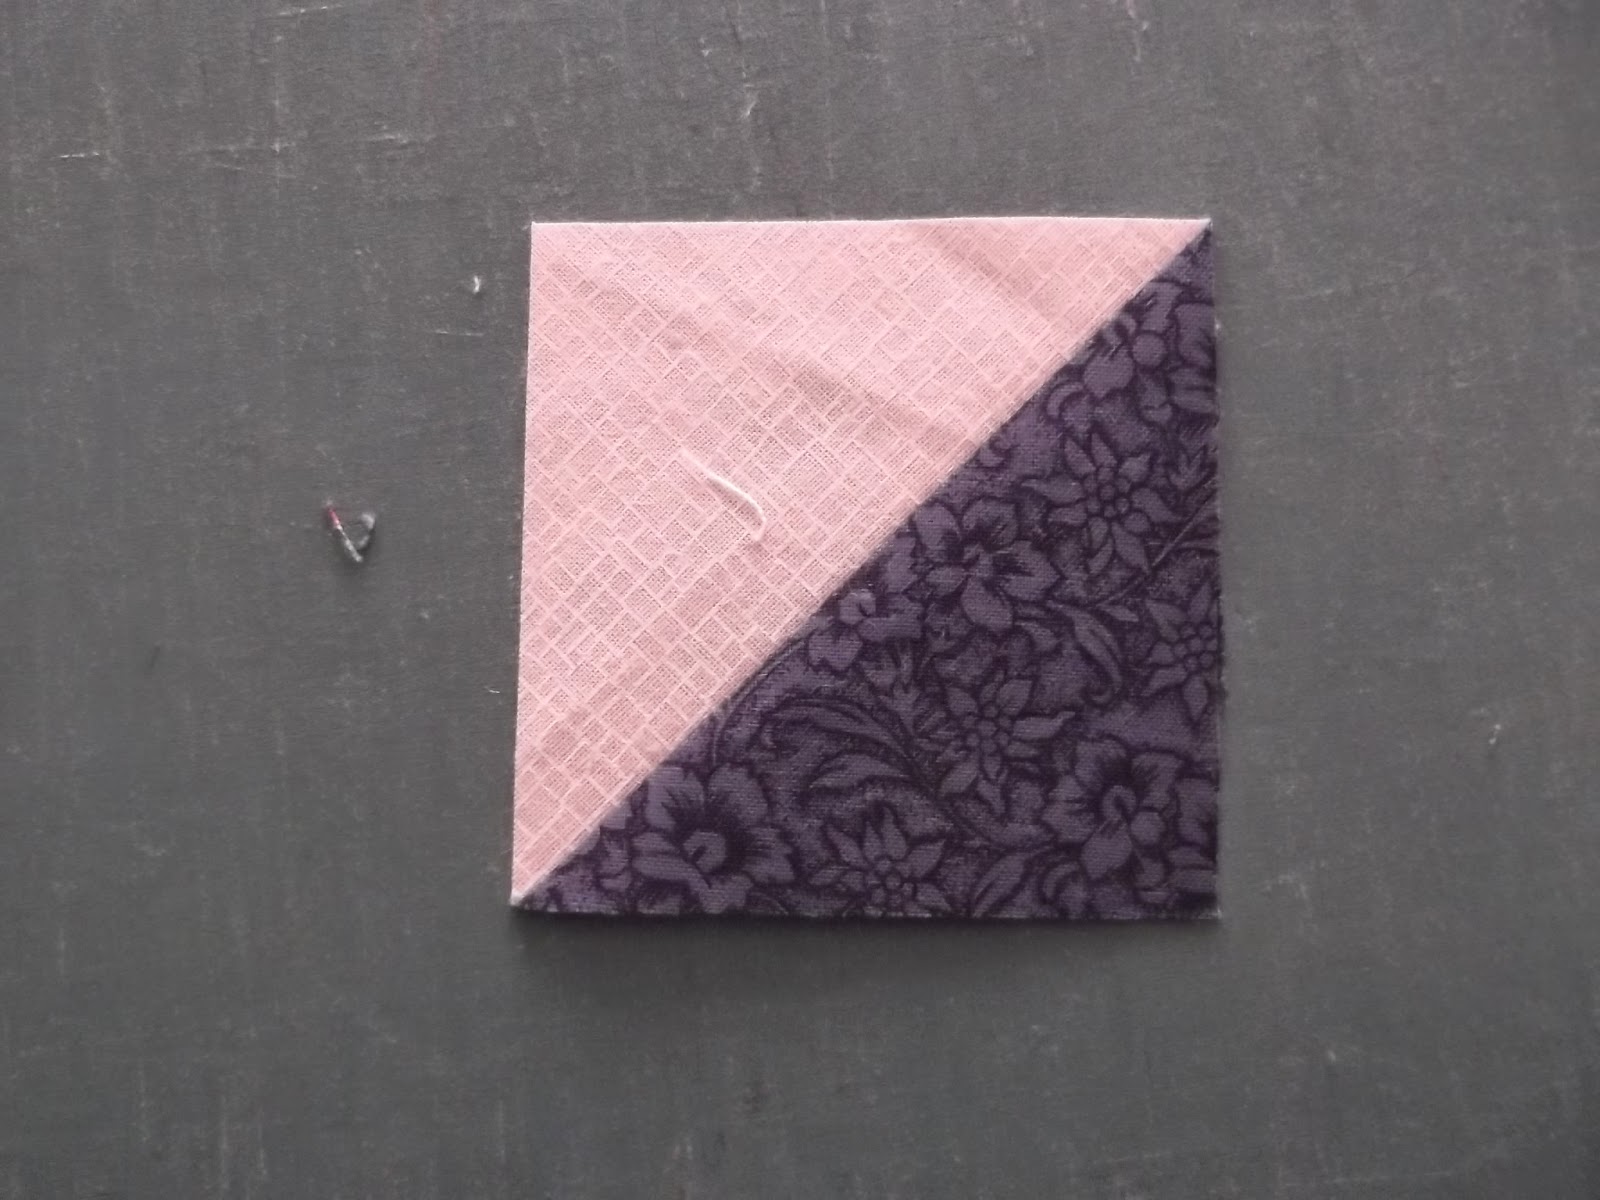
(To end up with edges that are not on the bias, cut squares of background fabric slightly larger than the short side of your half square triangle.  On the wrong side of the fabric, draw the diagonal of the square.  Match the long side of the half-square triangle to the drawn line.  Stitch the triangle in place, using the drawn line as a guide for your 1/4" seam.  Add another triangle to the other half of the square.  Cut apart on the drawn line.  Press seam allowance toward the dark and square up as above.)
Great scrappy quilts can be made from these new 1/2 square triangles--pinwheels are fun.  Be creative and play with the design possibilities. 

Wednesday, April 2, 2014

Use Your Scraps, Part 5

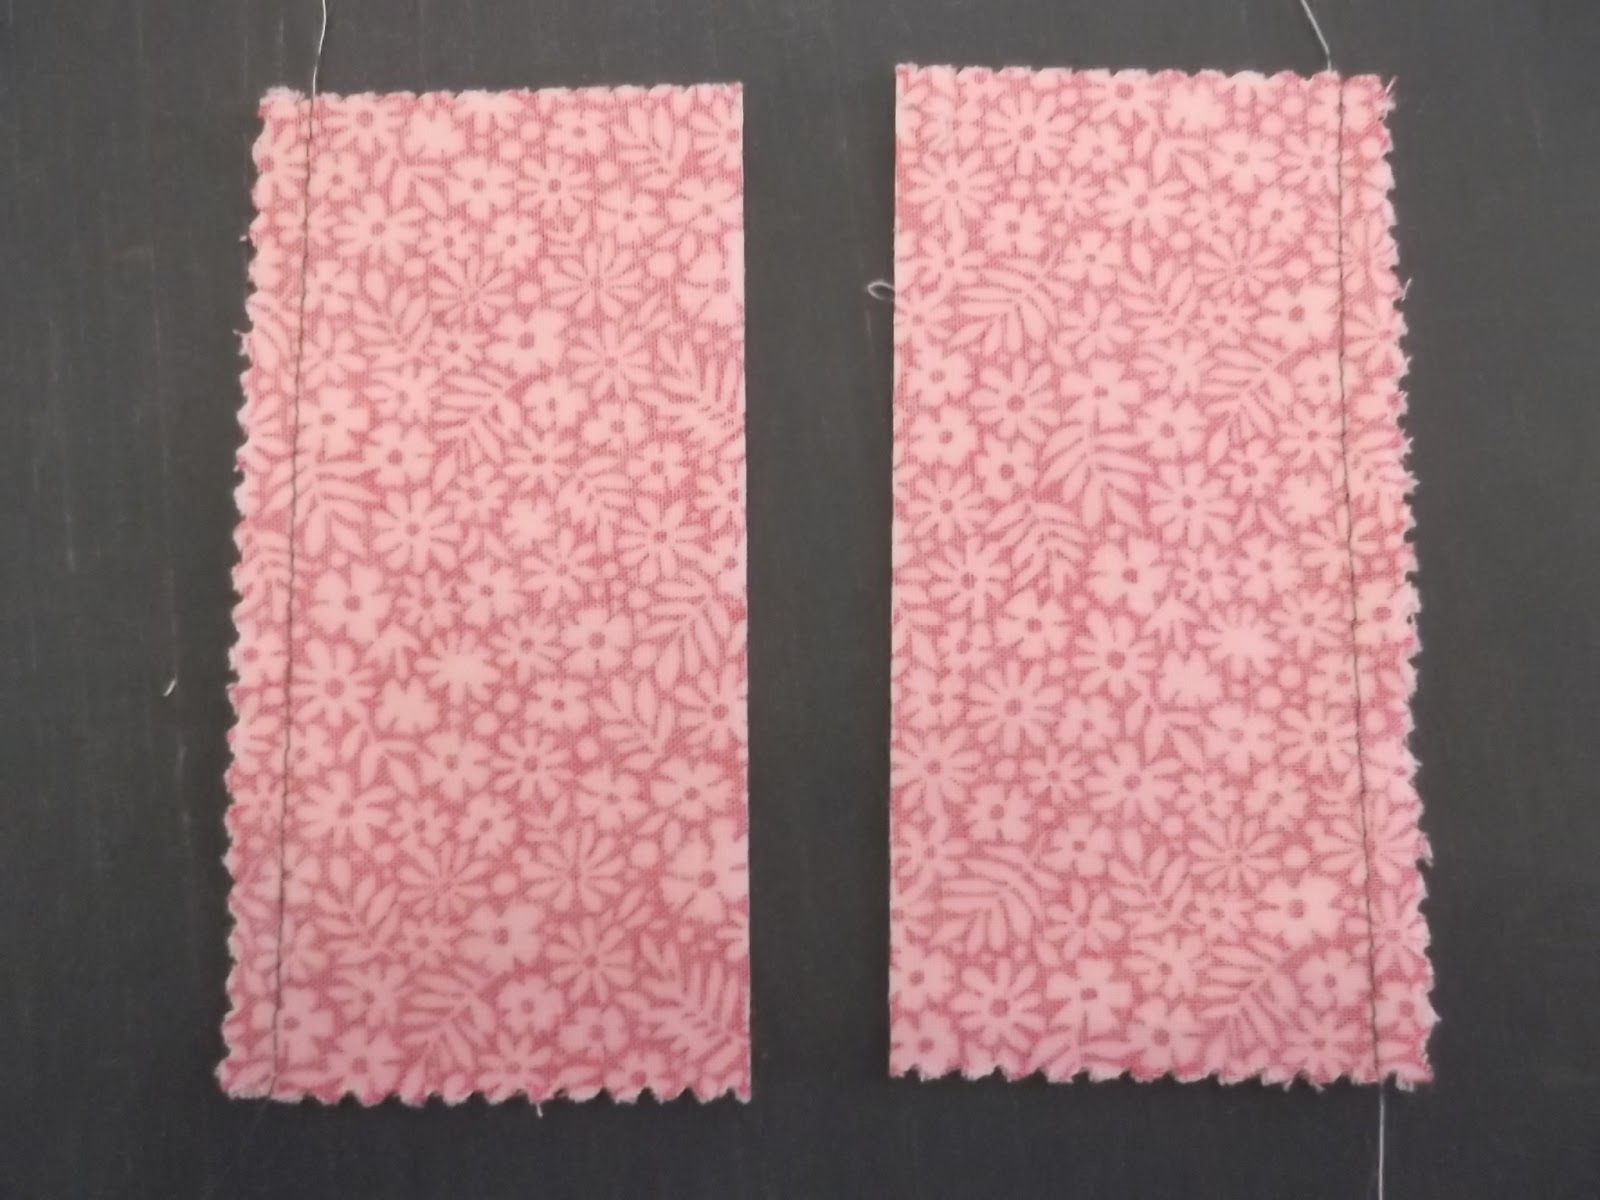
Here's another idea for using your charm squares--a fun way to make 4-patch squares.  Right sides together, pair up a print charm square with a solid square of the same size.  Using a 1/4" seam allowance, stitch the squares together on opposite sides.  Then cut the sewn squares apart through the center (the cut will be parallel to the stitched edges). 

Press the seam allowances toward the print fabric.  Right sides together, place one pressed square on top of the other, with the print rectangle on top of the plain rectangle below and the plain rectangle on top of the print rectangle below.  The center seams should butt nicely to each other.  Pin in place.  Using a 1/4" seam allowance, stitch along the opposite outer edges--this stitching will be perpendicular to the center seams.

Again, cut the squares apart through the center--parallel to the seams you just sewed.  Open out and press.  You now have two 4-patch squares!  Square up as necessary.

I think this technique is perfect for those charm squares with pinked edges-- which I find so hard to work with!  Because of the way these 4-patch blocks are constructed, those pinked edges disappear!
Try this...you will like it!  :)


Thursday, March 27, 2014

Use Your Scraps, Part 4

Do you have a collection of Charm Squares?  If so, are you wondering what to do with them? 
Here's a quick and easy idea:  Put them in a paper bag and mix them up.  Draw them out one at a time (without peeking) and sew them together as you draw them out.  Charm squares typically measure 5", so once they are sewn with a 1/4" seam allowance, they will finish 4 1/2".  For a lap quilt that measures ~45" x 45", you will need 100 charm squares. 
Idea #2:  Draw the diagonal line on the wrong side of each charm square.  Pair a print square with a solid background square, right sides together.  Stitch 1/4" either side of the drawn line.  Cut on the drawn line and press the seam allowance toward the print.  You will end up with a collection of 1/2 square triangle blocks that can be arranged on your design wall as you wish. 
Other ways to cut charm squares:  cut in 1/2 vertically or horizontally to create 2 pieces 2 1/2" x 5".  Use these for scrappy Rail Fence blocks.
Cut into quarters, creating four 2 1/2" squares. Make scrappy 4-Patches or 9-Patches from an assortment of these small squares. 
As you are shopping for quilt patterns, seek out those that use charm squares.  :)


Wednesday, March 19, 2014

Using Your Scraps, Part 3

More ideas for using your collection of fabric strips...Sew the strips to foundation blocks. 
From any thin fabric you have in your stash, cut squares--anywhere from 6 1/2" to 10 1/2" square.  (The larger your square, the longer the strips will need to be to cover the square, so determine the size of your foundation square by the lengths of the strips in your collection.  Another thing to think about--the smaller your foundation square, the more of them you will need to make a large quilt top.)
You will cover the foundation square with the fabric strips, using the sew and flip technique, then you will trim the outer edges back to the size of your foundation square. 
Begin in the center of your square.  Lay one strip, right side up, across the diameter (or near diameter) of the square.  The ends of the strip should hang over the edges of the square.  The next strip you choose can be a bit shorter than the first.  Place it on top of the first strip, RIGHT SIDES TOGETHER, matching the long edge on the right-hand side.  Stitch along this edge, using a 1/4" seam allowance.  Open out the stitched strip and finger press the seam.  Choose another strip, a bit shorter than the one it is next to (but be sure that it covers the foundation square) and repeat the process.  Continue choosing and sewing strips until the entire right-hand side of the foundation square is covered.  Rotate the square and do the same to cover the other side of the foundation square. 


 At this point, it will no longer look square.  Turn the entire piece over so that your foundation square is visible.  Using your square ruler and rotary cutter, trim the block to the original size of your foundation square. (Your foundation square may have shrunk with the stitching.  If so, do not follow the edges of the foundation square, but trim the block to the size it was to begin with.)
You can choose the color of the strips at random for a true scrappy look.  Or, you can use the same color strip down the center of each block and put light strips on one side and dark strips on the other.  Play with the placement of the blocks when you are ready to set them together.  Alternating the direction of the strips creates interesting designs.  Use my pictures for inspiration and have fun!!! 


Friday, March 14, 2014

A Bump in the Road

Well, so much for resolutions!  I'm already a couple of days late in blogging this week, and this post will NOT be about scrap quilts.  I am playing nursemaid to a husband who had surgery on Tuesday to repair a broken ankle.  I had good intentions of continuing with ideas for using fabric strips, but my brain is not into it right now and my time is spent doing other things.  Each day is getting a little easier, though, so next week I'll be back with some strip quilt ideas, complete with pictures.  Stay tuned!  (PS:  so glad that I'm a quilter!  Helps to keep my sanity!!!) :)

Wednesday, March 5, 2014

Use Your Scraps, part 2

Have you been piecing strips together?  Along the long edges?  Making strips of multiple strips so that you have pieces that are 6"- 8" wide?  If so, are you now wondering what to do with them??
Interesting quilt tops can be made merely by cutting squares from these pieced strips. 
--Cut 6 1/2" squares across the strips.  Lay them out so that alternate strips are horizontal while the others are vertical (a Rail-Fence type layout).  Mix up the colors as you lay out the squares.  A baby quilt, finishing 36" x 42",  will use 42 squares (set 6 x 7).  Cut more squares for a larger quilt.
--If you have the width to do so, lay your square ruler on the pieced strips so that the strips are on the diagonal of the square.  (Cutting the squares this way will require more pieced strips than the first method...but triangles resulting from this cutting method can be pieced together to form more squares.)  Lay out these squares so that alternate strips are pointing in opposite directions and play around with color placement.  Some interesting designs can result.
--You can also just alternate a strip square with a solid color square and do some fancy quilting in the solid square.
Use your imagination and be creative.  You will be amazed at the quilt you can make just by piecing together your leftover strips!    

Wednesday, February 26, 2014

Use Your Scraps, part 1

The whole point of sorting your scraps and leftovers is NOT storing them.  The real point of sorting is knowing what you have so you can begin to use your scraps and stash.  :)
Keep your eyes open for patterns that use the stash items you have.  In the meantime, pull out some strips, small squares or half-square triangles.  Press them so they are flat and ready to work with.  Keep a box of them next to your sewing machine and use pairs of them** as "run-offs" while you are piecing other projects. (**Pair up your squares or triangles by light/dark.  Strips can be paired up according to length; choose colors at random.)  Before you know it, you will have enough of these units to use in a quilt top!